You must be an administrator to do create users.
Collect the following information before you start to create the user:
- Preferred username.
- First name.
- Last name.
- Email address.
- Link to website (optional)
- Role
To create the user’s credentials, go to Users > Add New.
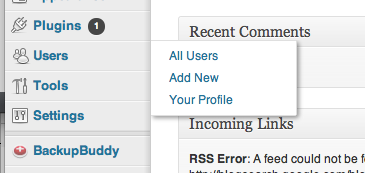
This opens an Add New User screen.
Next, fill out the form using the information collected above.
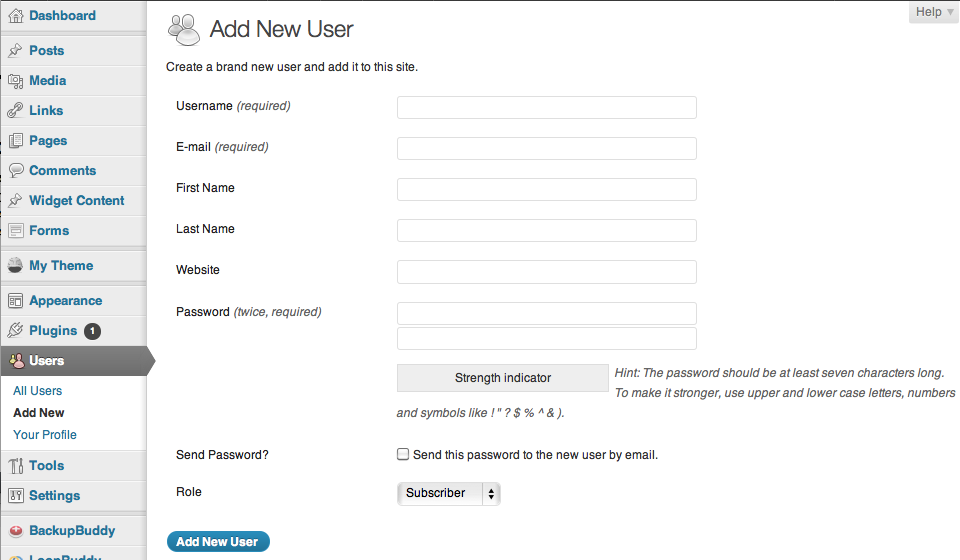
Make sure to pick an appropriate role for each user.
- Administrator – can do anything to this site. Powerful and dangerous.
- Editor – can create new content and edit content created by others.
- Author – can create new content and edit content created by this user.
- Contributor – can create and edit their own posts, but not publish them.
- Subscriber – can submit comments.
Check the “Send password” box if you want to notify the user via email. (Note: this is a potential security risk because the site name, username, and password are sent unencrypted via email.)
Best practices
- For users who will be listed as authors of articles, add the person’s photo and bio to the profile for that user.
- Behind the scenes users, such as the XS team, need not have photo and bio.
To add author photo and bio
- After creating the user, go to Users > All users
- Select the user you just created (click on either the username or the “Edit” link that appears when you hover on the username.) This brings up an “Edit User” screen.
- Scroll down to the box labeled “Biographical info”. Enter the bio there.
- Upload a photo. Use the Browse button to upload a photo from your workstation. Square is best.
- Select “Update User” to save your changes.

Leave a Reply
You must be logged in to post a comment.