There are many different ways that you can control how comments work on your site. WordPress and Builder come with some ways to globally affect comments. There are also plugins that can help extend that functionality. Finally, you can also adjust how comments work on individual posts and pages.
Built-in WordPress Controls
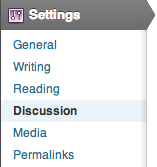
WordPress has built-in controls to manage comments. You can adjust how you want comments to work on your site by going to Settings > Discussion in the backend of WordPress. The changes you make on this page will affect all posts and pages on the site. Some of the things you could do is allow people to post comments on new articles, enable nested comments, or force administrator approval of comments before they’re posted on the site.
Builder Controls
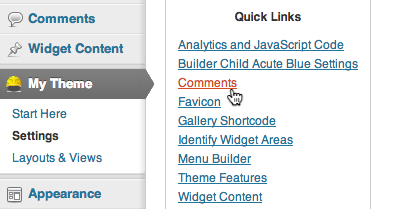
With Builder, you have even more options for controlling when comments appear. Go to My Theme > Settings. Then, click on “Comments” in the “Quick Links” box, under the “Basic” tab. Here, you’ll be able to adjust whether or not comments appear on pages, posts, or media pages. You can even change the default “Comments are closed” text, which WordPress displays when comments aren’t allowed, to whatever you want.
Other Alternatives
If you didn’t find what you were looking for in the above settings, lots of other plugins and themes provide different ways to fine-tune how comments behave. So you may have to explore other alternatives.
Individual Controls
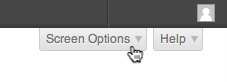
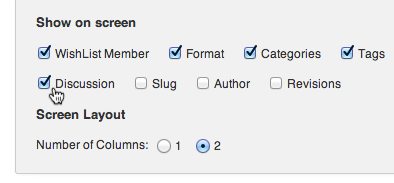
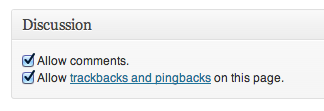
After adjusting the global controls, you may still want to adjust the comment settings for a particular post or page. In the post or page editor, click on the Screen Options tab near the upper right corner of the screen. Make sure that the “Discussion” checkbox is ticked. Finally, scroll down, below the text editor, and look for the Discussion box to change the settings for the post you’re currently editing.
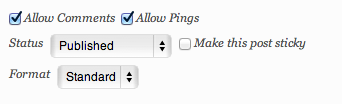
Another way to individually adjust comments is to use the Quick Edit link on the All Posts or All Pages page, which only appears when hovering over an individual publication. If you have a couple of posts you want to change, but don’t want to globally affect every publication, you can use Quick Edit with the Bulk Actions dropdown menu.
 Subscribe in a reader
Manage Comments
There are many different ways that you can control how comments work on your site. WordPress and Builder come with some ways to globally affect comments. There are also plugins that can help extend that functionality. Finally, you can also adjust how comments work on individual posts and pages.
Built-in WordPress Controls
WordPress has built-in controls to manage comments. You can adjust how you want comments to work on your site by going to Settings > Discussion in the backend of WordPress. The changes you make on this page will affect all posts and pages on the site. Some of the things you could do is allow people to post comments on new articles, enable nested comments, or force administrator approval of comments before they’re posted on the site.
Builder Controls
With Builder, you have even more options for controlling when comments appear. Go to My Theme > Settings. Then, click on “Comments” in the “Quick Links” box, under the “Basic” tab. Here, you’ll be able to adjust whether or not comments appear on pages, posts, or media pages. You can even change the default “Comments are closed” text, which WordPress displays when comments aren’t allowed, to whatever you want.
Other Alternatives
If you didn’t find what you were looking for in the above settings, lots of other plugins and themes provide different ways to fine-tune how comments behave. So you may have to explore other alternatives.
Individual Controls
After adjusting the global controls, you may still want to adjust the comment settings for a particular post or page. In the post or page editor, click on the Screen Options tab near the upper right corner of the screen. Make sure that the “Discussion” checkbox is ticked. Finally, scroll down, below the text editor, and look for the Discussion box to change the settings for the post you’re currently editing.
Another way to individually adjust comments is to use the Quick Edit link on the All Posts or All Pages page, which only appears when hovering over an individual publication. If you have a couple of posts you want to change, but don’t want to globally affect every publication, you can use Quick Edit with the Bulk Actions dropdown menu.