Admin settings for reducing Spam in Moodle

Start with the article in docs: http://docs.moodle.org/en/Reducing_spam_in_Moodle

Add more ideas here…

Howto: Ask HostGator to move an existing site

Here’s a link to the HostGator page that requests move.

https://secure.hostgator.com/resellertransfer.php

New Social Sharing Plugin from WP Beginner

In the past, I have recommended AddThis and ShareThis for social toolbars. I’m strongly considering changing that recommendation.

WP Beginner just announced a new plugin called Floating Social Bar (FSB, for short). I have installed it on a few of my hobby, sandbox, and development sites, including ExpertWebSupport. So far, I really like the plugin. It is easy to configure and works well out of the box. You should see the “out of the box” FSB as part of this post. The only configuration I did was include Facebook, LinkedIn, Google+, and Twitter as possible sharing options.

For more information, see Floating Social Bar – Best Social Media Plugin for WordPress.

There are some reasons to stay with AddThis or ShareThis (xThis, for short).

  • FSB supports only Facebook, LinkedIn, Twitter, Google+, and Pinterest. xThis includes LOTS more networks. If your herd uses Reddit or Digg or another of the multitude of networks, you should probably stay where you are.
  • I don’t see any analytics from FSB. xThis provides a service that tracks what your visitors do with your sharing bar, so you can get reports on how many shares have happened. Maybe FSB has analytics, but it isn’t obvious to me yet.

If you decide to try it out, let me know what you think.


Info about Wishlist Member plugins

Read More…

Howto Move a reseller customer to their own HostGator account

Here’s a rough draft of the process for moving a customer from our reseller account to their own HostGator account. Read More…

How to create content for the sidebar

There are two kinds of content that can appear in the sidebar: hand-coded and automatically-generated. Read More…

How to create categories

Categories provide the primary navigation mechanism for the site. This page describes how to create and manage categories. Read More…

How to create menus

  • Go to Appearance > Menus
    This opens a screen that contains 4 sections in the left column, and a menu in the right column.

FindMenus

  • In the left column:
    • Ignore the “Theme Locations” box. It’s not relevant for this site.
    • The “Custom Links” box is used for links to off-site pages. For example,if we want to link to a page on the main IBM site, enter the URL and the Label you want to use in the menu, and select “Add to Menu”.
    • The “Pages” box is used to link to pages on this site. Use the “Most Recent”, “View All”, and “Search” tabs to find the page or pages you want to include in the menu, and select “Add to Menu”.
    • The “Categories” box is used to link to category pages on this site. Use the “Most Recent”, “View All”, and “Search” tabs to find the category or categories you want to include in the menu, and select “Add to Menu”.
  • In the right column:
    • Use the “+” tab to create a new menu if you need it.
    • Select an existing tab to edit that menu.
    • Main Nav 2 is the current menu used at the top of the page.
    • After selecting the menu you want to work on, use the functions in the left column to add items to this menu.
    • You may rearrange the items in the menu by dragging each menu to where you want it. Indent to indicate a sub-menu item.
  • Be sure to hit “Save Menu” before leaving this screen.

Footnote

The “Footer Nav” is not the menu used in the Footer as of this writing. For technical reasons having to do with the design, we have custom coded the footer menu. If you need to modify the menu in the footer, we’ll have to add another training page.Menus

How to add media

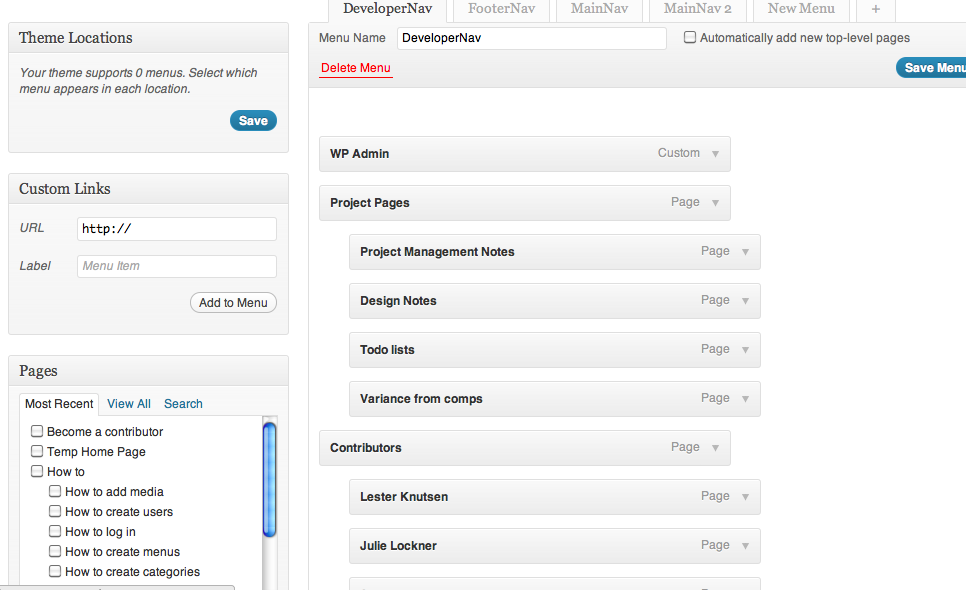
We’ll use “entry” to mean either a post, page, or a widget content item.

There are quite a few different ways to manage media.

Briefly,

  • You can add media directly on an “Add” or “Edit” screen for an entry.
  • You can upload media into the Media Library and later attach it to an entry.
  • You can add a Featured Image to a post.

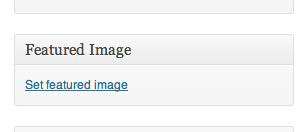
To add media on an Add or Edit screen:

  • Put the cursor in the edit box where you want the media to appear.
  • Above the edit box, above the editing toolbar, select the “Add media” icon next to the words “Upload/Insert”.AddMediaIcon
    • This brings up a lightbox.
    • Click on an image from the media library or upload a file.
    • Use the “Insert into Post/Page” link to insert the media.

To upload media into the Media Library:

  • Go to Media > Add New
  • You can drag media from your workstation into the window, or use Select Files to use your workstation file browser.
  • You can later attach the media to an entry via an Add or Edit screen.

To add a Featured image:

Go to the page where you want to add the Featured Image and scroll down and look in the right column for the header Featured Image.
setFeaturedImage

  • his brings up a lightbox similar to the one described above.
  • Select the image you want to set as the Featured Image for the post.
  • Please use Alternate Text.  This is the text that is used if someone is visually impaired.

How to create WordPress users

You must be an administrator to do create users.

Collect the following information before you start to create the user:

  • Preferred username.
  • First name.
  • Last name.
  • Email address.
  • Link to website (optional)
  • Role

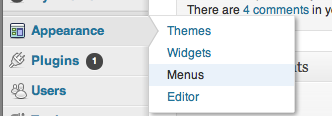
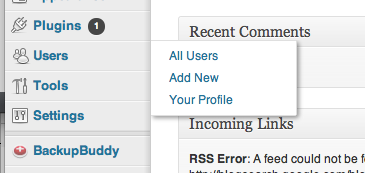
To create the user’s credentials, go to Users > Add New.
AddNewUser
This opens an Add New User screen.

Next, fill out the form using the information collected above.
AddNewUserDetail

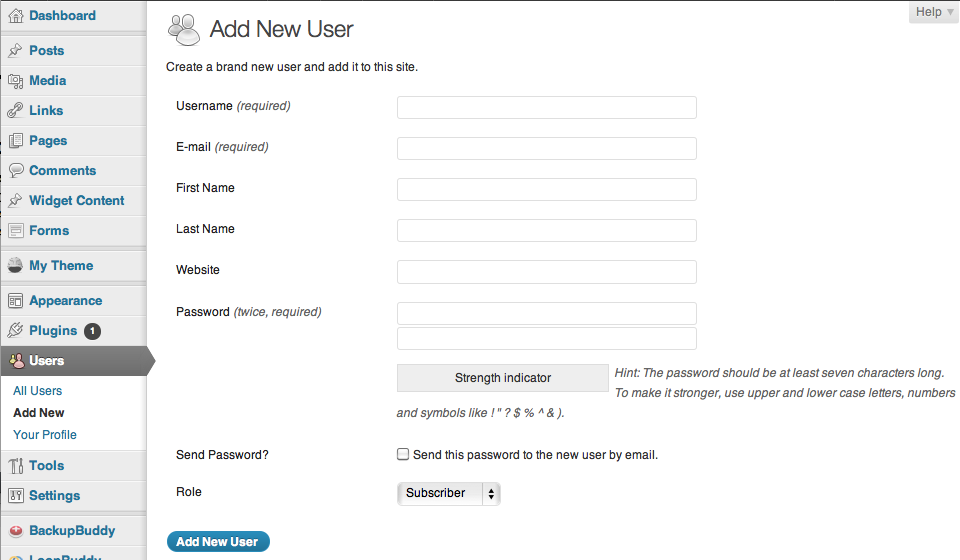
Make sure to pick an appropriate role for each user.

  • Administrator – can do anything to this site. Powerful and dangerous.
  • Editor – can create new content and edit content created by others.
  • Author – can create new content and edit content created by this user.
  • Contributor – can create and edit their own posts, but not publish them.
  • Subscriber – can submit comments.

Check the “Send password” box if you want to notify the user via email. (Note: this is a potential security risk because the site name, username, and password are sent unencrypted via email.)

Best practices

  • For users who will be listed as authors of articles, add the person’s photo and bio to the profile for that user.
  • Behind the scenes users, such as the XS team, need not have photo and bio.

To add author photo and bio

  • After creating the user, go to Users > All users
  • Select the user you just created (click on either the username or the “Edit” link that appears when you hover on the username.) This brings up an “Edit User” screen.
  • Scroll down to the box labeled “Biographical info”. Enter the bio there.
  • Upload a photo. Use the Browse button to upload a photo from your workstation. Square is best.
  • Select “Update User” to save your changes.